Sewing paw pads

Wrapping the thread over the top of the paw

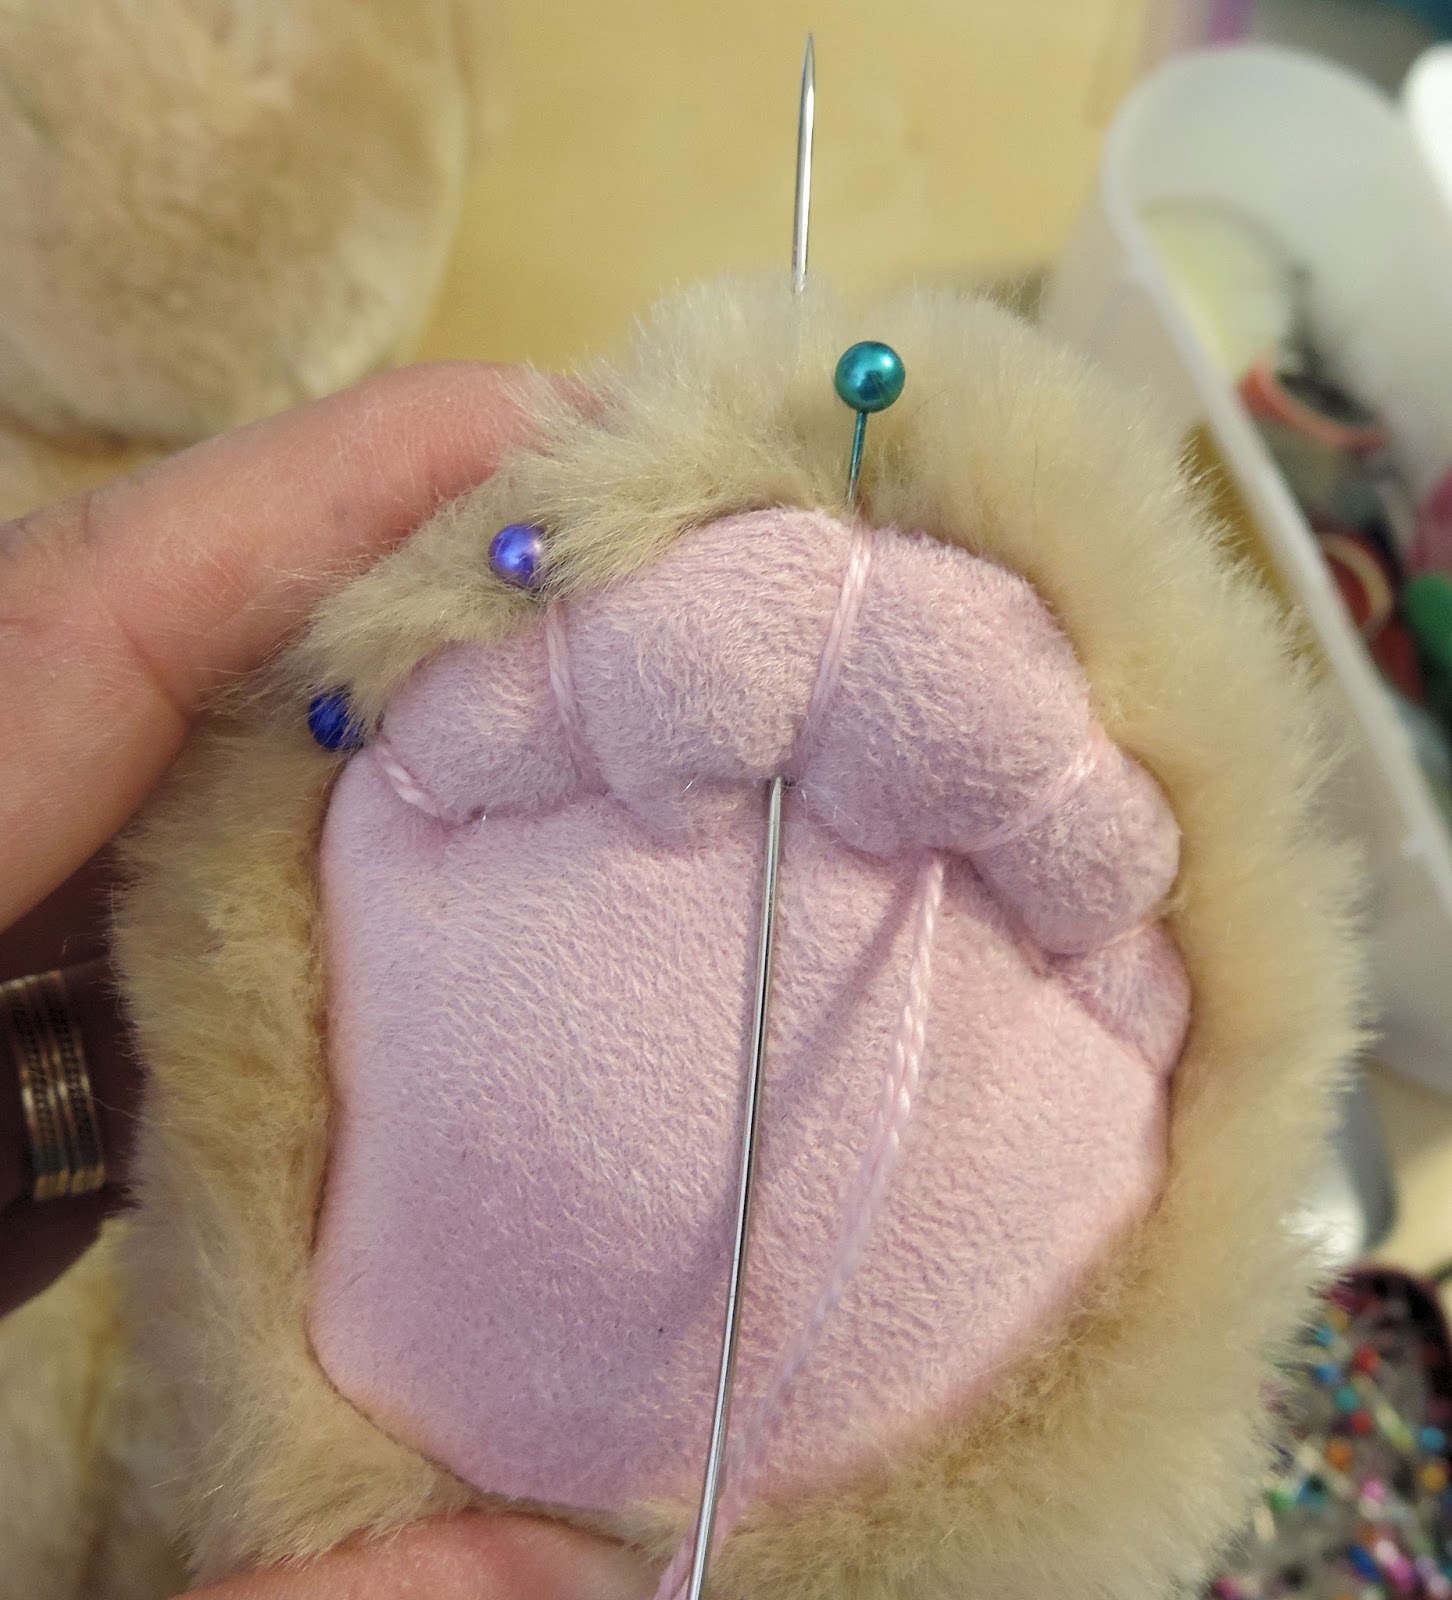
Push the needle through from the top of the paw and come out at the bottom of the purple pair of pins. Wrap the thread over the top again. Hold the thread tight and keep the paw pads you have sewn shaped.

Push the needle back through the paw and come out at the base of the pink pin pair. Pull the thread through and keep it tight.

The next stage is to start sewing the base of the pads to pull up the toes. You are still using the same length of thread.

After forming the last paw edge, bring the needle back through the paw at the base of that last stitch. Pull the thread all the way through. Keep that tension on the thread!

The needle is pushed back through the paw from the base of the outer pin stitch up to the pink pin. You are now working to the edge of the paw pad where the ultra suede and plush meets and not wrapping it over the top of the paw. Keep tension on the thread. As you pull this tight the first toe will be formed.
Push the needle back through the paw edge from the pink pin down to the base of the pad of the next pin over. This means you are making a small stitch at the point of the pink pin. It will help keep your tension in place too. Keep stitching from the base of the long paw stitch up to the top edge where each pin is. At each pin you place a small stitch and move over to the next base of a pad. Keep pulling the stitches tight and forming toes as you go along.

Keep stitching up and down from the base of the stitch in the pad to the edge of the fur and ultra suede.

Keep pulling the thread tight as you go

When all the toes are formed tie off you thread and celebrate!

The paw from the top looks a lot flatter and fatter. The paw on the left has toes and the paw on the right is next...
No comments:
Post a Comment